Showing posts with label almond. Show all posts

Saturday, August 10, 2013

Nectarine Blueberry Almond Galette


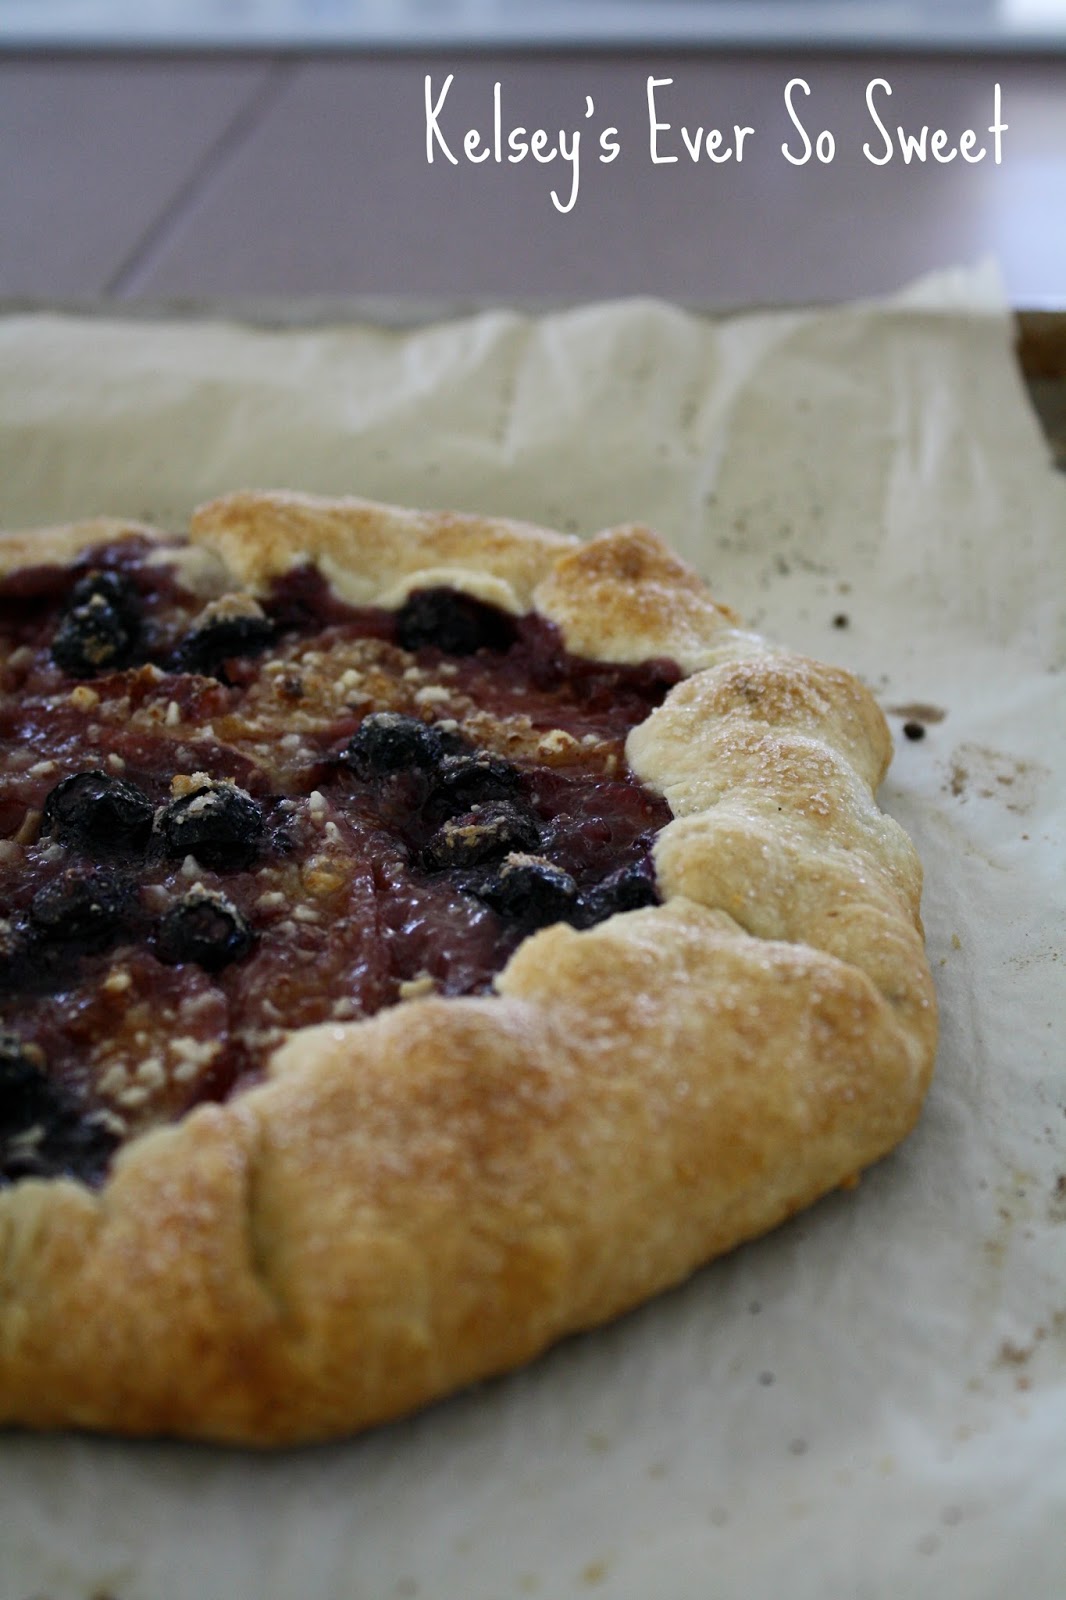
For those of you that don't know what a galette is it is kind of like a pie but it's open faced and you eat it like a pizza! Not a very accurate description but its how I think of it. 

This particular galette has a sugar almond mixture layer, ripe nectarines, and blueberries.

Sorry that I have been a bad baker lately- I've been so busy with work and traveling to beautiful places! This is not a complaint! My summer has been awesome, just much crazier than normal. 

Anyways, enough about me... I don't think I'd ever seen or tasted a galette before making it myself but I saw a recipe that inspired me on the blog A Cozy Kitchen and wanted to take a stab at it!

The best time to make this galette would be now when the summer fruit is fresh, juicy, and amazing. And the best time to eat this galette is right when it has cooled off a bit but is still warm.  Slap a scoop of vanilla ice cream on top of it and you will be golden. 


And don't forget to eat it like a pizza! Yummm!


Ingredients: 

This recipe makes one galette (8-9').

Crust:
1 cup all purpose flour
1 tsp. sugar
pinch of salt
4 tbsp cold water
3/4 stick of butter (cold and cubed)

Filling:
1/4 cup finely ground almonds
1/4 cup sugar
2 big ripe nectarines (or 3-4 smaller sized)
1/4 cup blueberries
1 tbsp melted butter
1 tbsp extra butter (set aside)


Directions:

Crust:

1.  In a large bowl, combine flour, sugar, and salt.  Add the butter and using your hands mix until it is starting to incorporate and form dough.  Add the water one tablespoon at a time and keep mending the ingredients until dough forms.  Flatten, cover with plastic wrap, and put in the fridge for at least 1 hour.

2.  Preheat the oven to 400 degrees F. Take the dough out of the fridge and roll out on a floured surface until it is only about 1/8 of an inch thick.  Place a piece of parchment paper on a baking sheet and transfer the rolled out dough to the baking sheet. 

Filling:

1. Grind a handful of almonds in a food processor until fine. In a small bowl combine sugar and ground almonds.  Sprinkle 3/4's of this mixture into the center of the dough.


2.  Cut up your nectarines into thin slices and make sure they are extra ripe! Place them and the blueberries in a pattern of your choice on top of almond/sugar mixture. Sprinkle remaining almond/sugar mixture over the fruit. 


3.  Fold in the border of the dough at an angle and pinch the dough together so that it is sealed and doesn't fall apart. 


4.  Brush the dough with the melted butter and sprinkle on some sugar on top of that.  This will give the dough a nice crunch. 

5.  Bake in a lower (not the lowest) section of the oven for about 45 minutes, or until the crust looks very well browned and the fruit is bubbling! 

6.  Remove from the oven and cool for about 10-15 minutes, slice up, and serve. 

Happy Baking everybody!

Monday, June 3, 2013

Nanaimo Bars

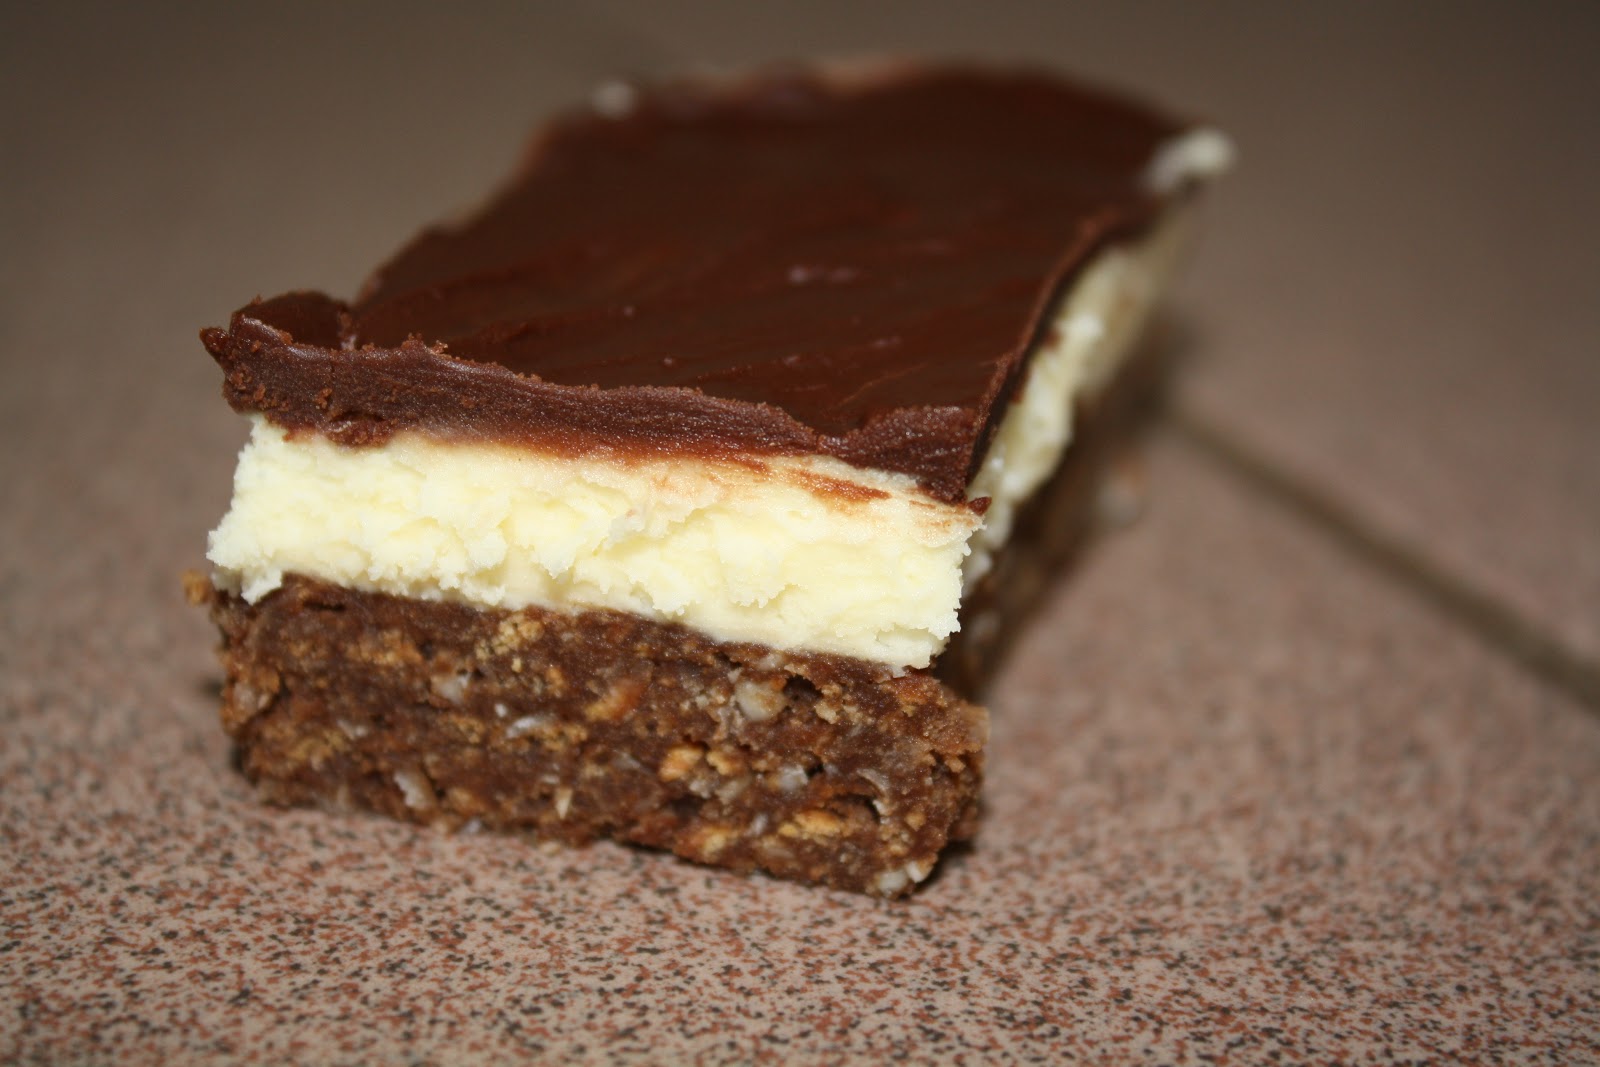
Most of you have probably never heard of these so called, Nanaimo bars, but now that you know what they are there is no turning back!  They are rich, creamy, and decadent... enough said!


Basically these consist of three different layers.  The bottom layer is mostly made up of coconut, graham cracker, pecans or almonds, and cocoa powder.  The middle layer is creamy made with heavy whipping cream, butter, pudding mix, and powdered sugar.  The top layer is the most simple but brings it to completion: chocolate and butter.  

When I was at school last semester my friends mom made some of these for him one day and I tried them.  I had never had them before and I really enjoyed them so I figured that once I got home I would try to make them myself.  With having no clue what they were made out of I referred to one of my favorite blogs, Cooking Classy, to begin my adventure. 


My mom called on my baking "expertise" to make something to bring to my brothers lacrosse banquet and I thought it would be the perfect opportunity to give it a shot.  I had to hope that it would all work out because I did not have the time for it not to.  Luckily it did, and now I get to share it with you all!  Another awesome thing about this recipe is that you don't have to bake anything all you do is prepare it and its pretty much ready to eat!

Update: I am loving summer and can't get enough of this beautiful weather.  I am working 2 hostess jobs to make some money but I am trying to have a fare amount of relaxing as well.


Ingredients:

This recipe makes about a 9"x14" pan of bars. 

Base layer: 
1 cup diced salted butter
2/3 cup brown sugar
6 tbsp. cocoa powder
2 eggs, beaten
3 tsp. vanilla
3.5 cups graham cracker crumbs
1.5 cups shredded sweetened coconut
1 cup finely chopped almonds (or pecans)

Middle layer:
2/3 cup softened salted butter
1/2 cup heavy whipping cream
4 tbsp. vanilla pudding mix 
4 cups powdered sugar

Top Layer: 
1 cup semisweet chocolate chips
4 tbsp salted butter

Directions:

Base layer:
Melt butter in saucepan over medium heat.  Once melted, remove from heat and add in brown sugar and cocoa powder until fully combined. 
Continue whisking and while doing so, add in the 2 beaten eggs and combine. 
Return to heat for several minutes until it has thickened.  Stir in vanilla once removed from heat. 
Using a food processor, make the designated amount of finely chopped graham cracker, shredded coconut, and almonds.  I made all of these ingredients pretty fine but it is technically up to you if you want it to be more crunchy!  The picture below is the almonds. 


Once you have combined the graham cracker, coconut, and almonds in a large glass bowl, pour in the chocolate mixture and using a spatula mix until fully coated. 


Press this into a even layer in a pre-greased pan, cover, and place in the freezer for 15-20 minutes. 

For the middle layer:
Using an electric mixer combine butter, heavy whipping cream, and pudding mix for several minutes until smooth and creamy.  
Add in powdered sugar and beat slowly until fully incorporated. 
Spread mixture in an even layer over the base layer, cover, and freeze for 10-15 minutes. 


For the top layer: 
Melt chocolate chips and butter in a heatproof bowl either in 30 second intervals in the microwave (with stirring in between) or over a pot of boiling water. 


Spread this evenly over the preceding two layers of the bars, cover, and refrigerate until ready to eat!
These should definitely be cold right up until the time they are served or else they start to melt pretty quick!  Not the type of dessert that should be left out for awhile! 


These are a new, hip, modern dessert that will not disappoint.  Even my mom who hates shredded coconut liked them!  I hope you try these out and that you are having a great start to the new month of June! 

Happy baking!